We frequently graft Sapodillas at ECHO North America using the cleft grafting technique.
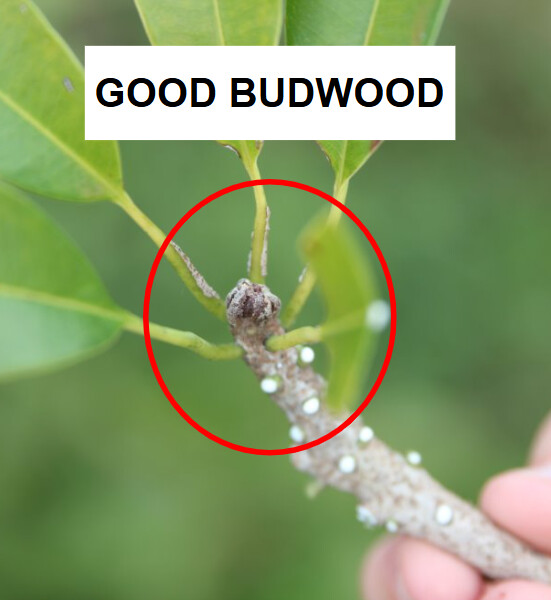
We start every graft selecting good budwood. Check out this post on what makes good or bad budwood Sapodilla Budwood Selection.
Next step is selecting a sapodilla rootstock that is the same diameter as your budwood or at least a very close match. In our nursery we particularly focus on the “transition zone” - the zone around 8-12in above the soil where the stem is transitioning from young and green to more lignified.

When we make the first cut to remove the top of the rootstock we make sure to leave at least 4 healthy leaves below where the graft union will be positioned. We have found this to be critical. It keeps the young rootstock alive during an often slow healing process for sapodilla.

On our budwood we make two cuts about 1.5in long, one on each side of the base. The result is a nice V shape with a fine point (circled in red below).
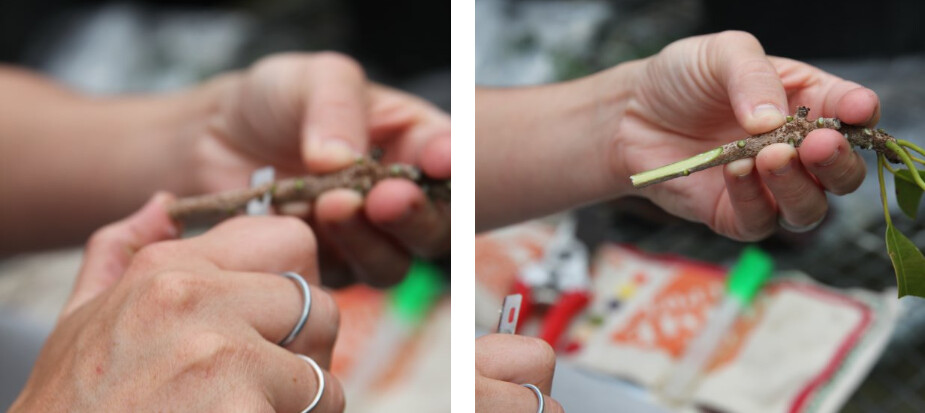

Next we quickly transition back to the cut rootstock and make a clean cut 1.5in straight down the center of the stem. If your diameters do not quite match up you can shift your cut off center to make a better match.

Slide the prepared budwood down into the slit created on the rootstock and secure it with a rubber band or grafting plastic tape.

We always make sure to label our grafts (Species - Variety - Date - Grafter - Comment) so that months later we know what we have. Finally, we insert a bamboo stake and cover the graft with a clear plastic bag. This is then placed on the ground next to the table with the rootstock.
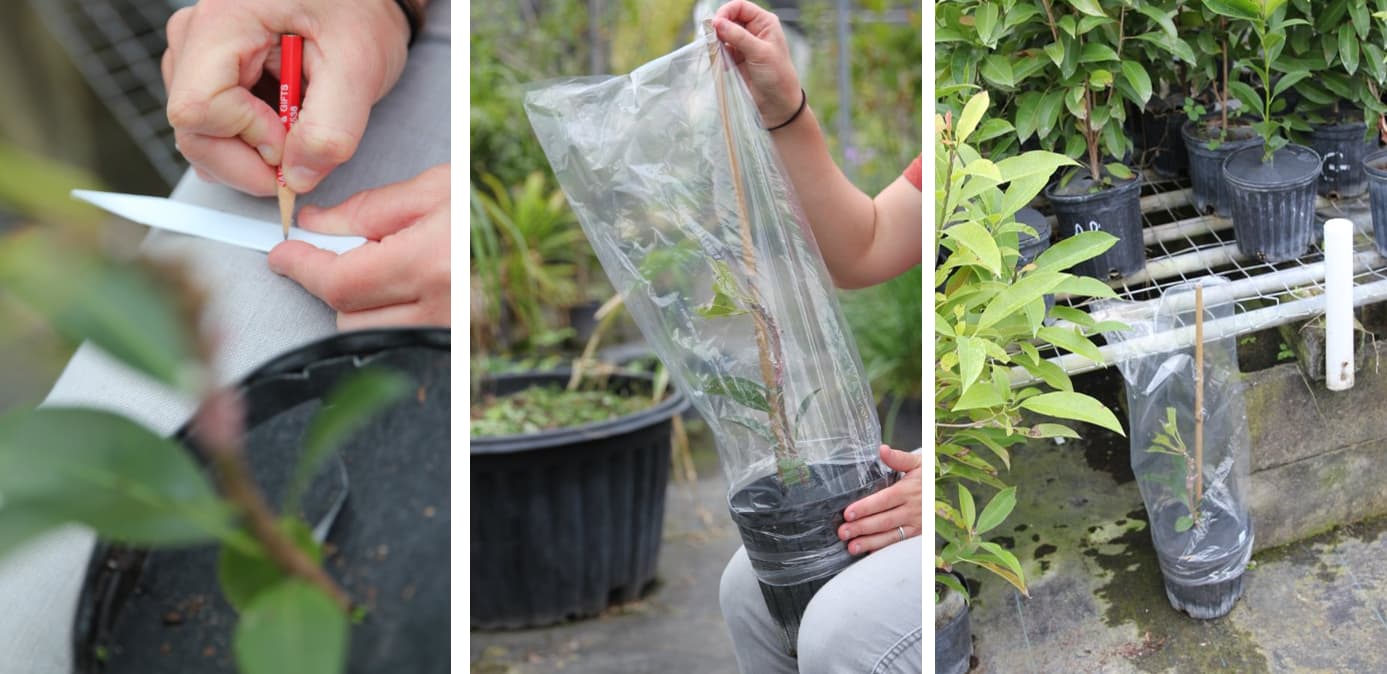
Grafts heal best with some shade, careful monitoring, and slow adjustments to their environment.