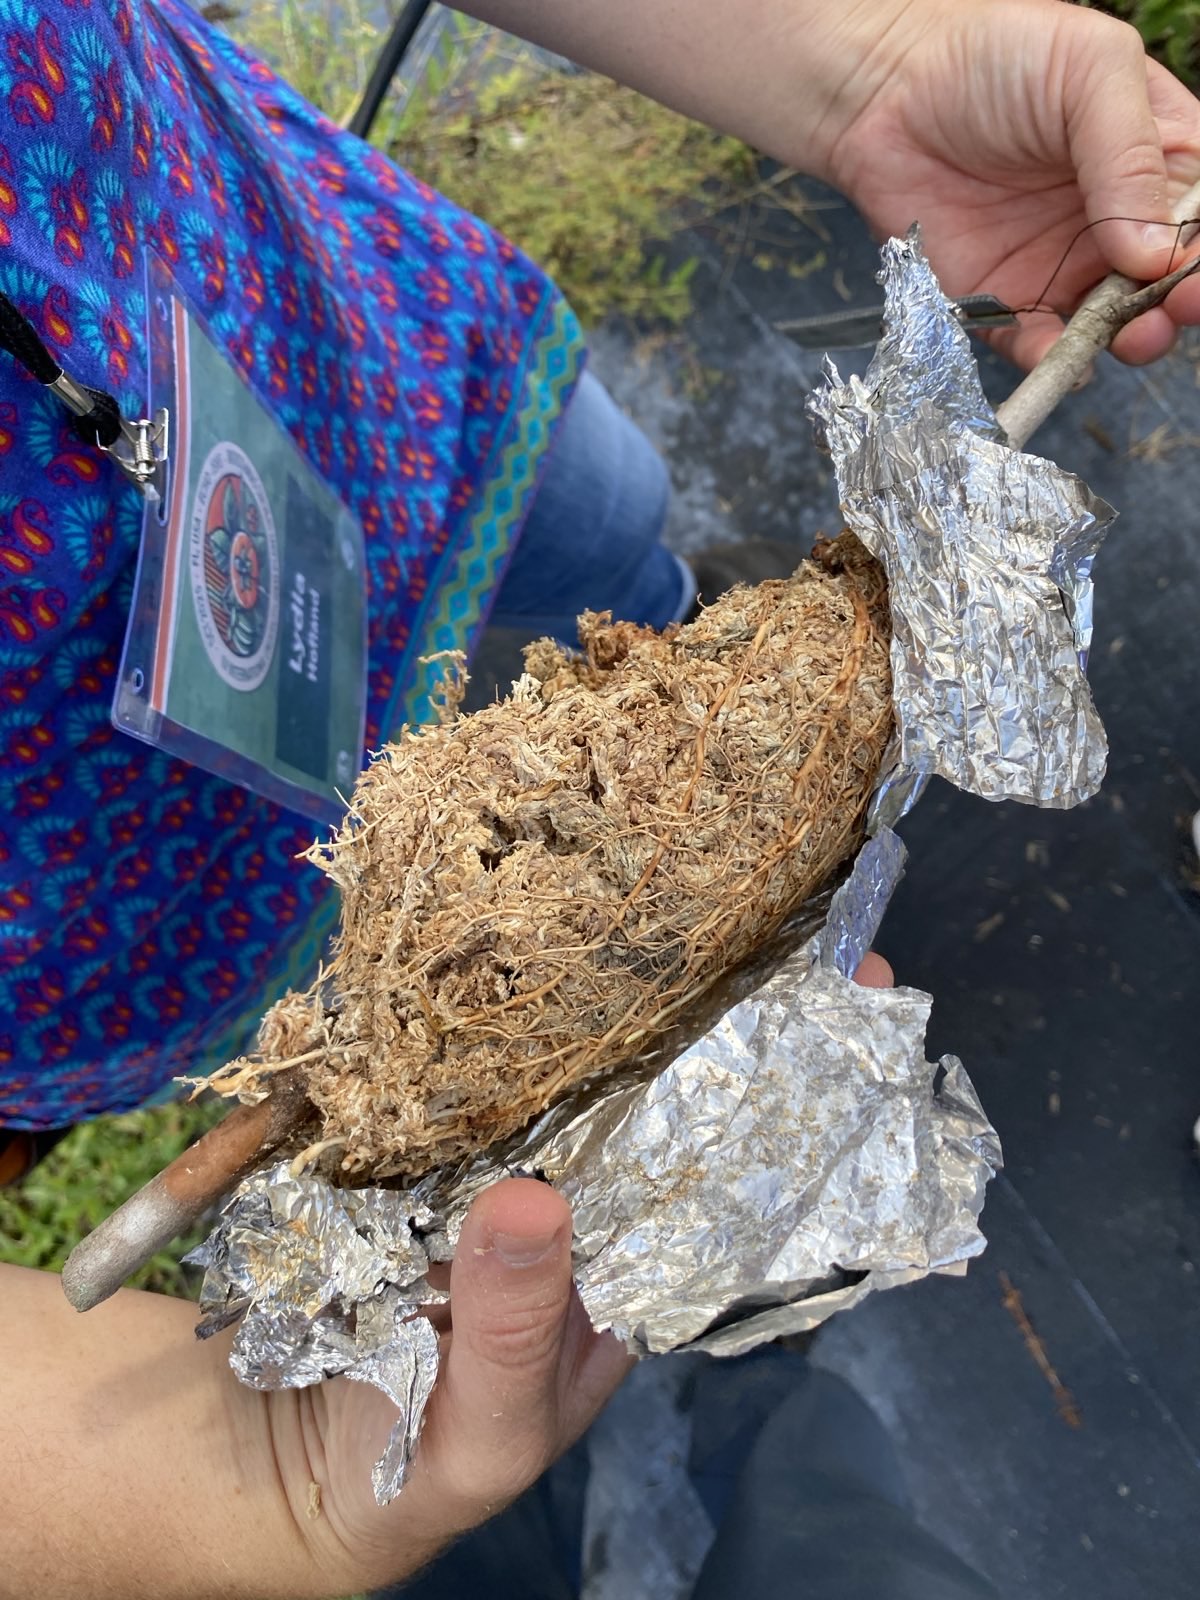
As the Summer has come to an end we have been taking our airlayers off the trees that we put on in the Spring. To check and see if the airlayers are ready to come off we will often gently squeeze the root ball and if it has some resistance it often has roots developed. We can also peel back the tin foil and check the root development.
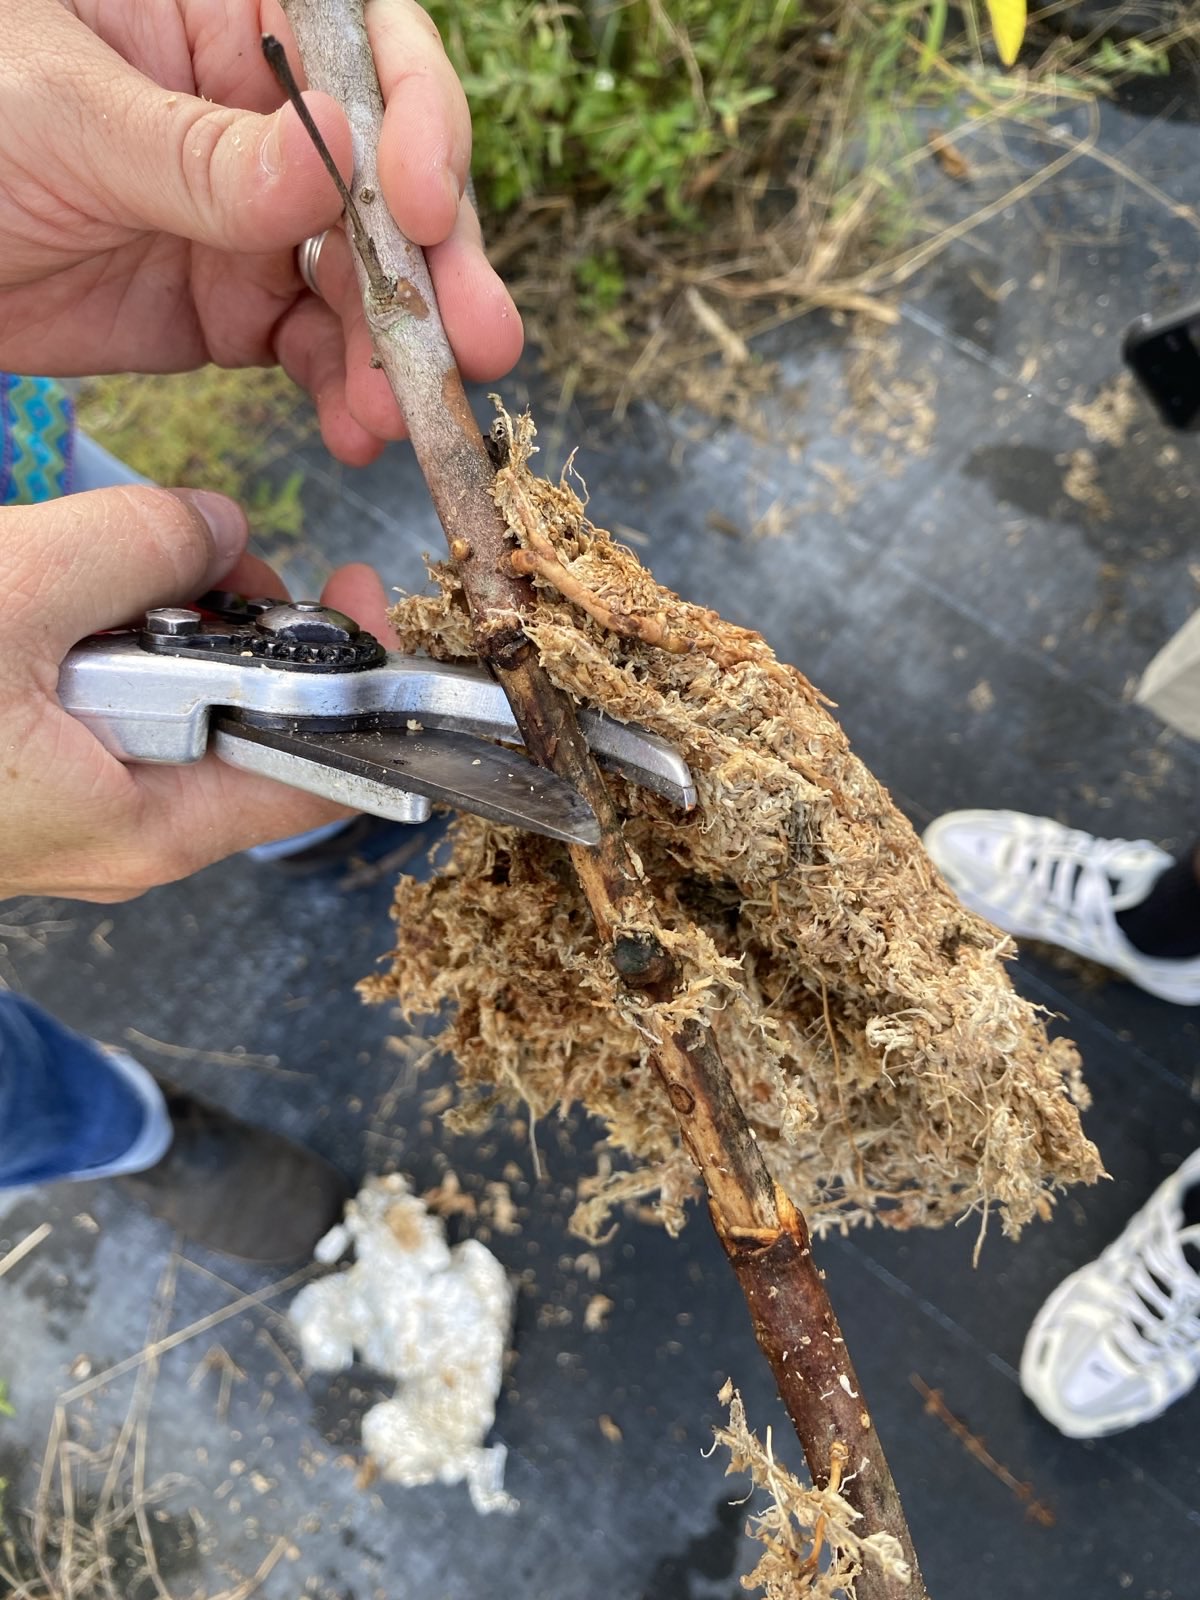
We make a cut below the airlayer, making sure to not leave a stub cut on the mother tree.
We then open up the airlayer and cut out the stem below where the roots have developed from (what was our top cut when we put the airlayer on). The next step is to place the root ball in a bucket of water and let it sit for a while. This helps to loosen the sphagnum and make it easier to gently tease out the root system so that it isn’t planted root bound from the airlayering process.
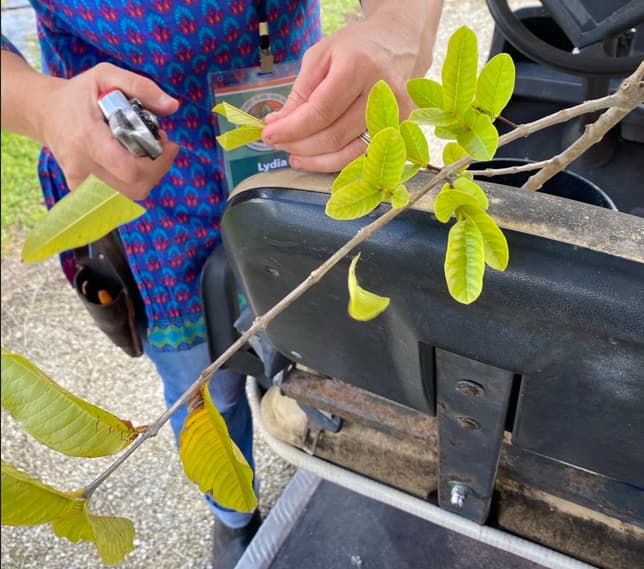
While the roots soak, we reduce the leaf material of the airlayer by 50%. This can look like cutting all the leaves in half or by cutting off young growth. We try to avoid cutting off lignified/hardened stem because this is where much of the airlayer’s energy is stored. We also will consider our end goal for the tree as we prune, making sure not to tip or prune the main stem if we want a nice single leader in our final tree.
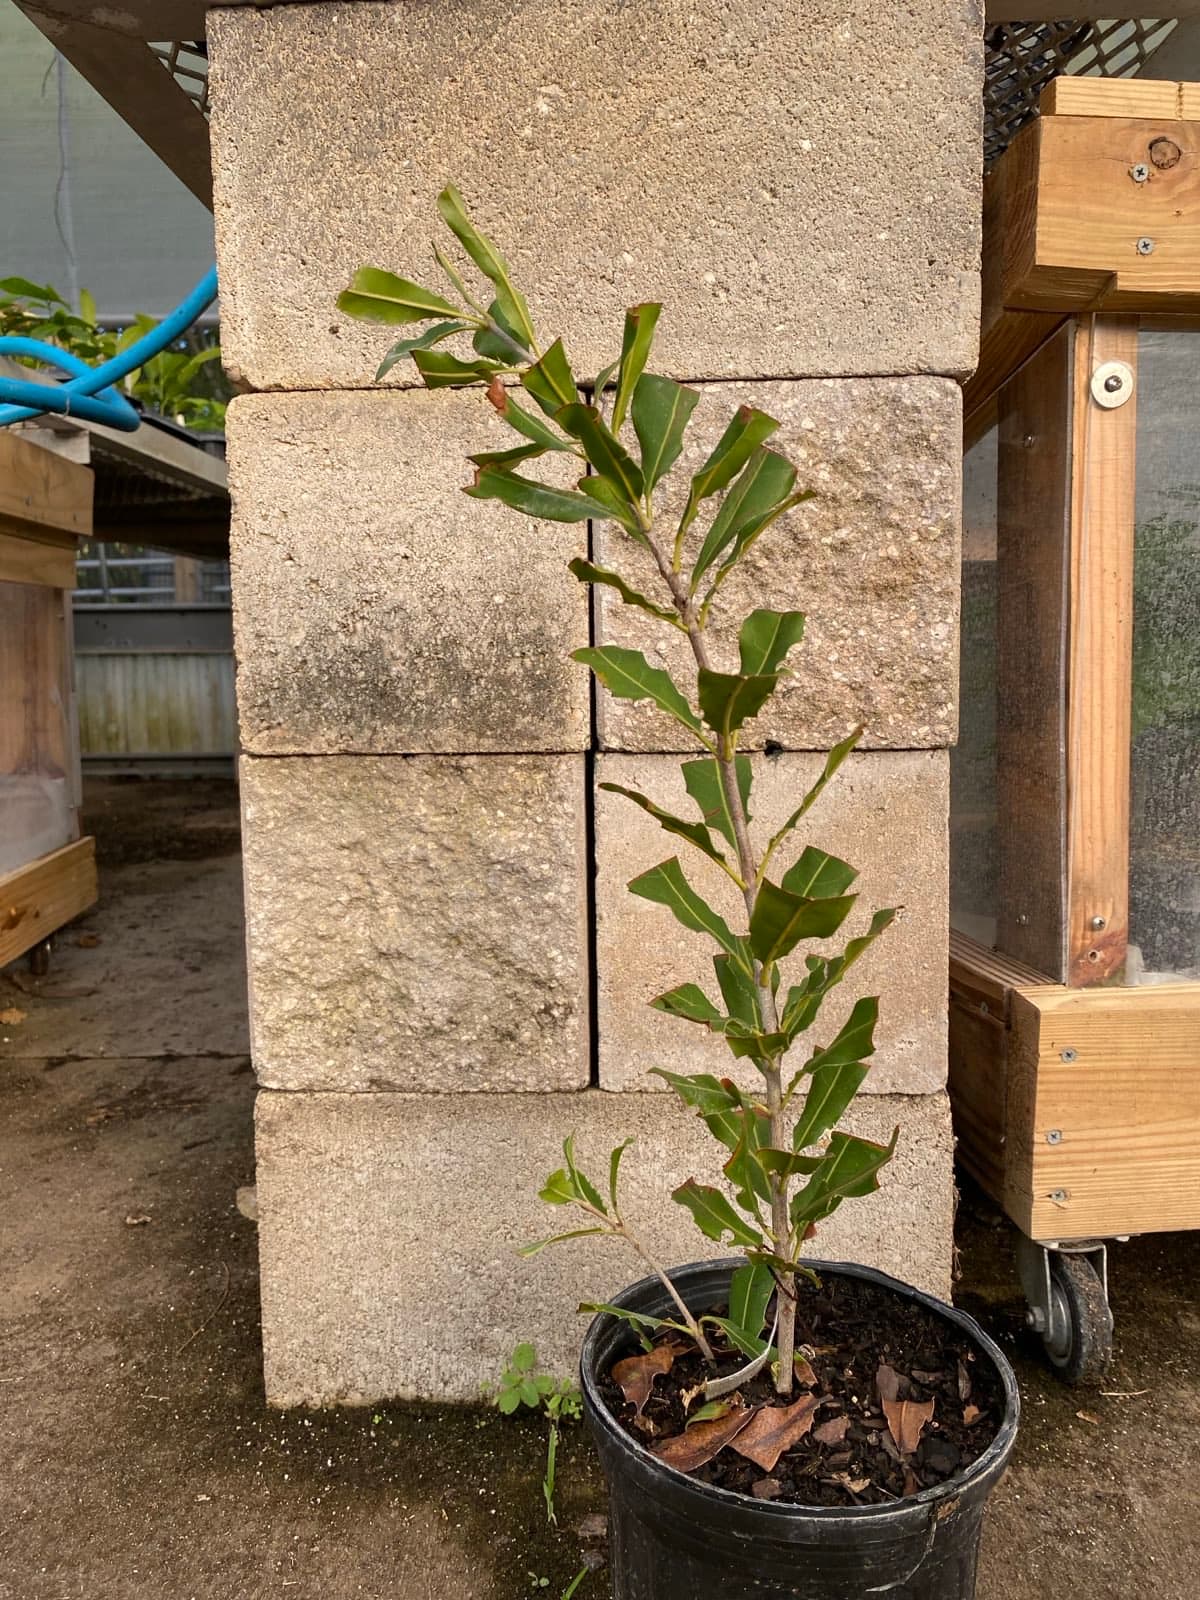
After the roots have soaked and the leaves are reduced we pot up the airlayer. We will remove any excess sphagnum moss so that it does not rot in our pots, but this step might look very different if a different material was used. We do try to spread the roots so that they are not root bound and be gentle when potting them up - packing the soil firmly enough around it that it stands up on its own, but not so tightly it pulls roots off the stem. We place our healing airlayers under our green house tables so that they recieve extra shade and reduced watering until they begin to push out new growth. Once that new growth has hardened off we treat it like any other nursery tree.
How do you process and heal airlayers in your context?