At ECHO North America’s Propagation Nursery we graft loquat regularly throughout the year using two different methods. This post will focus on the Side Veneer grafting technique for Loquat.
We start every graft selecting good budwood. Check out this post on what makes good or bad budwood. Loquat Budwood Selection

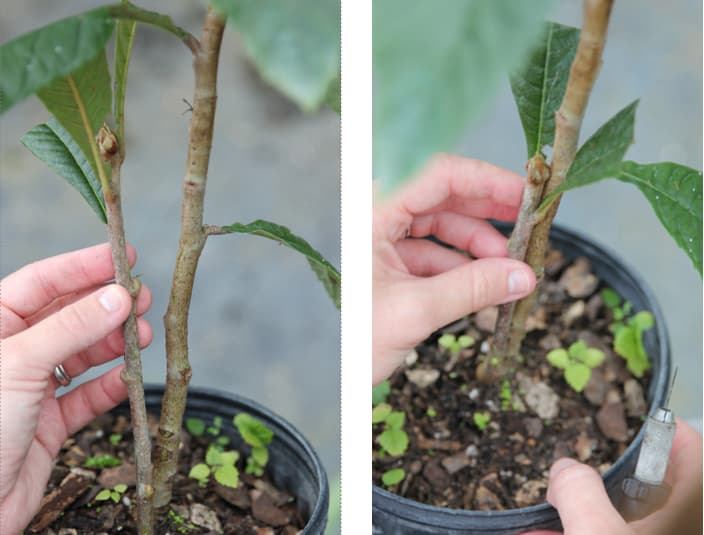
Next step is selecting a Loquat rootstock that has a similar diameter as your budwood. The nice thing about the side veneer graft is that it allows you to graft onto a rootstock that is larger than your budwood. In our nursery we usually focus on grafting in the “transition zone” - the zone around 8-12in above the soil where the stem is transitioning from young and green to more lignified, however with side veneers we can graft lower down, even in the bottom 2-8in.
Before you start making any cuts it is extremely helpful to compare your budwood to your rootstock stem. Try to find a match with the natural bends and curves to the plant material.
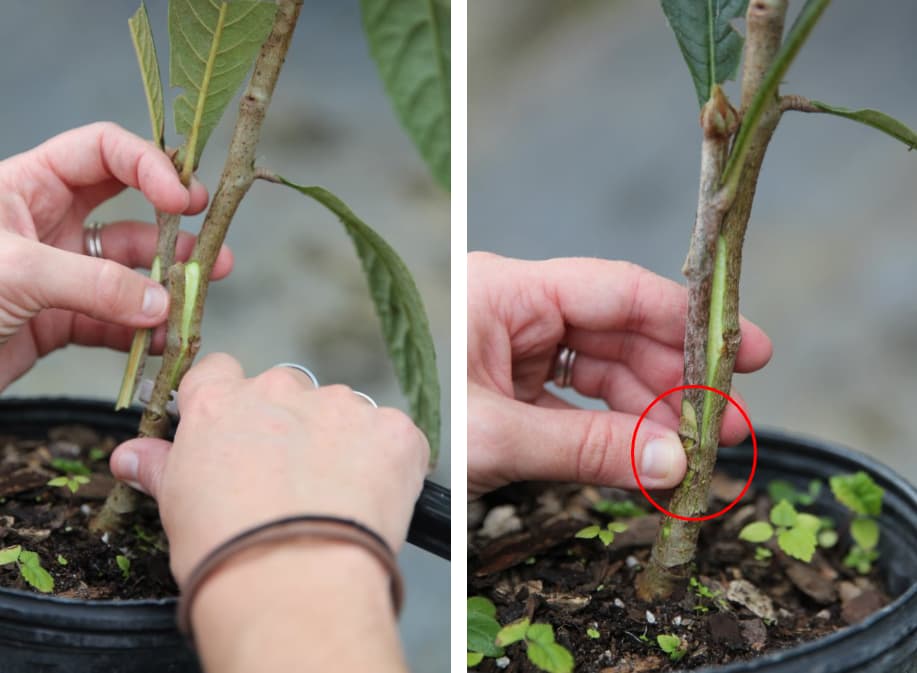
The first cut on your budwood will be a flat cut approximately 2.5-3in in length. Turn the budwood over 180 degrees and make your second cut. This cut is about 1in long and is an angled cut that brings the base of the budwood to a fine, flat point (see red circle below).
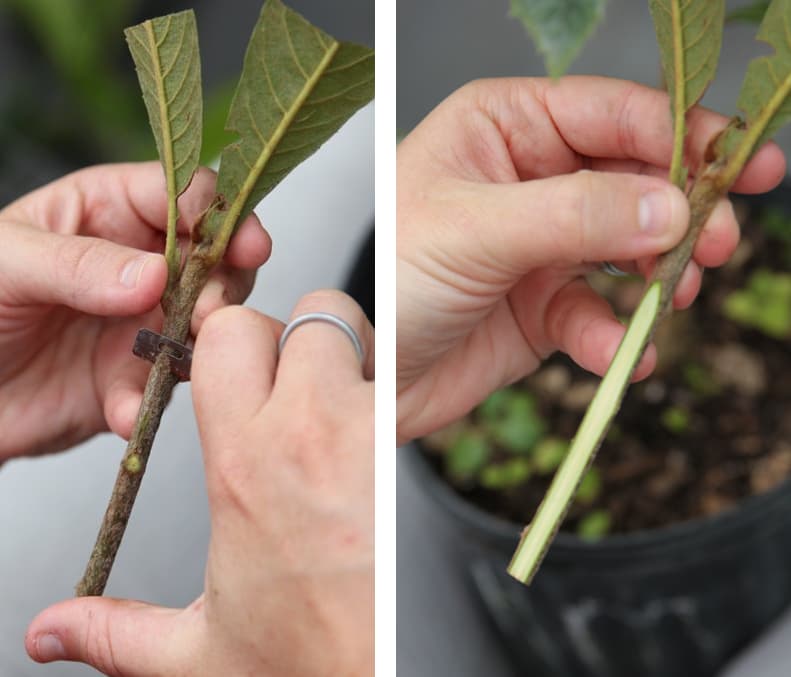
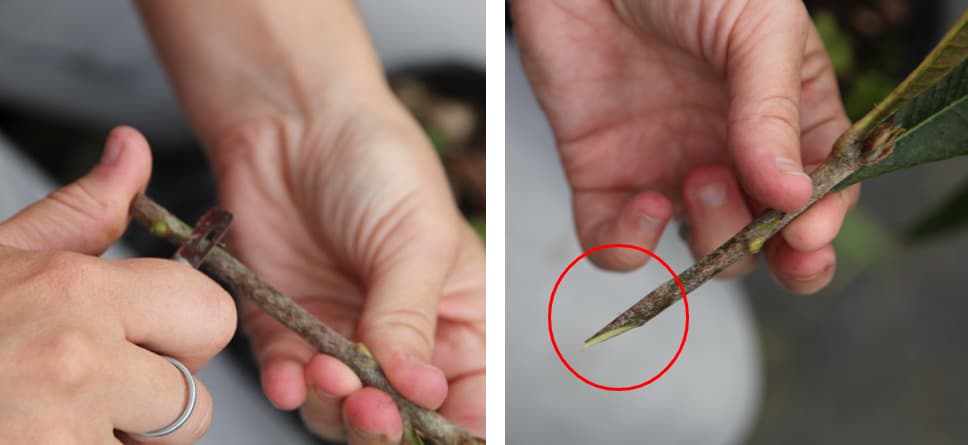
The final cut is on the rootstock. Using the long cut on the budwood as a guide, quickly make a matching flat cut on your rootstock. Leave a small flap of the phloem and cambium to tuck your budwood into (see red circle below). Matching width and length of cuts are important to insure good cambium contact. Additionally this cut is not deep into the stem, neither is it just skimming the outer bark. The ideal depth is removing the bark and phloem and exposing the the cambium, ideally along the entire length and width of the cut, but if that is not possible then along the sides.
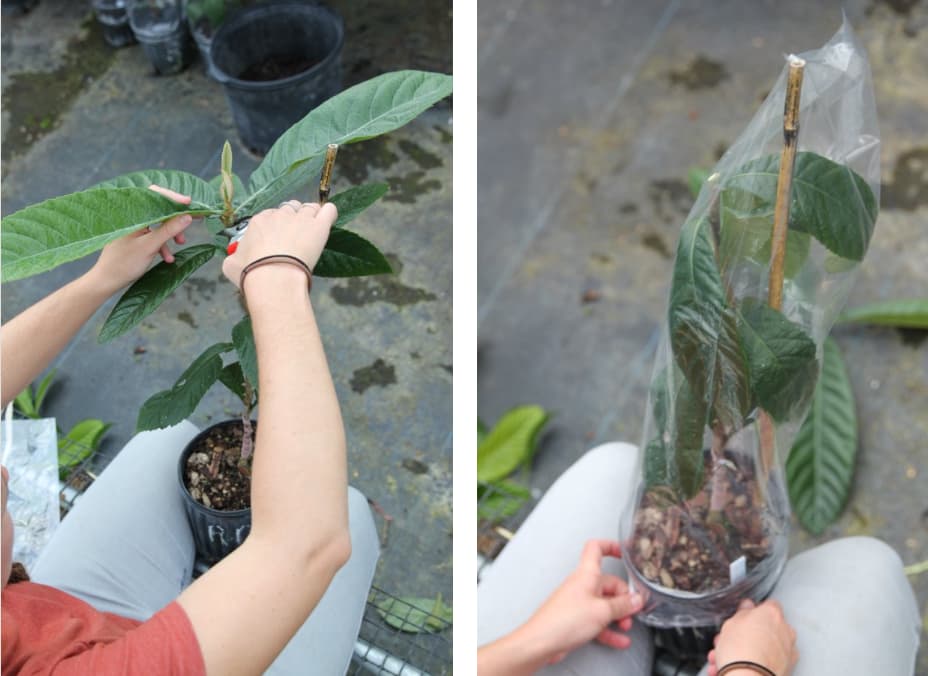
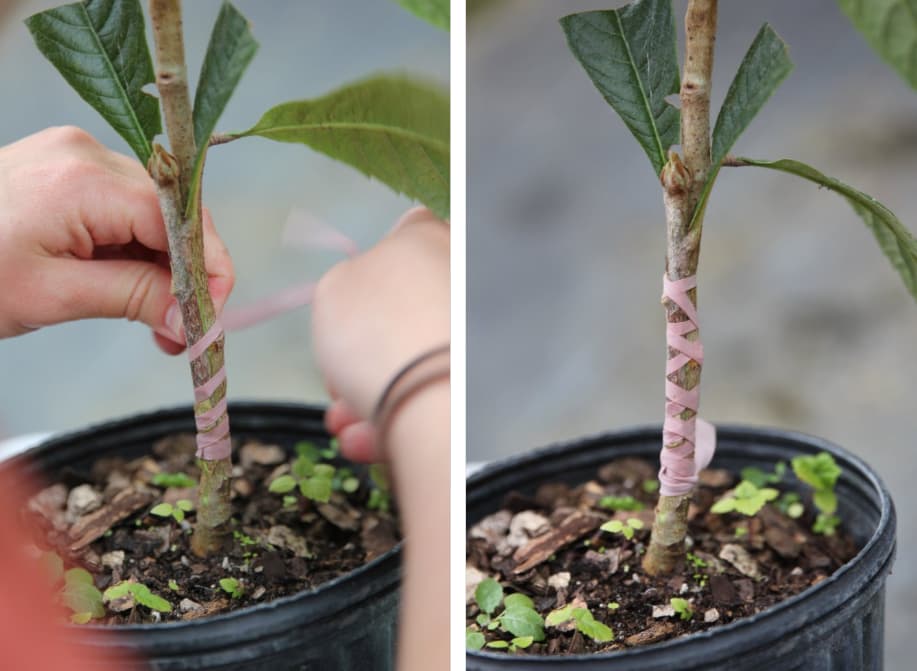
Secure the graft union with a rubber band. Shift your budwood to align with the rootstock cuts while securing the graft. It is important to have firm pressure holding the cuts in contact with each other.
Finally, tip or bend the top of your rootstock’s main stem. This breaks its apical dominance and allows side buds, in this case our grafted on side bud, to grow. Insert a stake and cover the graft with a plastic bag after making a graft tag (Species - Variety - Date - Grafter - Comment). The healing graft is placed on the ground next to the table with the rootstock. Grafts heal best with some shade, careful monitoring, and slow adjustments to their environment.